At a glance
- 01
Small holes, careful patching
Wire fished through existing ceilings with as few access openings as possible.
- 02
Layout before drilling
We mark every light on the ceiling first so you can see the spacing before anything is cut.
- 03
Dimmers matched to LEDs
Dimmers rated for the fixtures, so the lights fade smoothly with no buzz or flicker.
- 04
Right fixture for the spot
IC-rated under insulation, wet-rated over the shower, and slim wafers where joists are shallow.
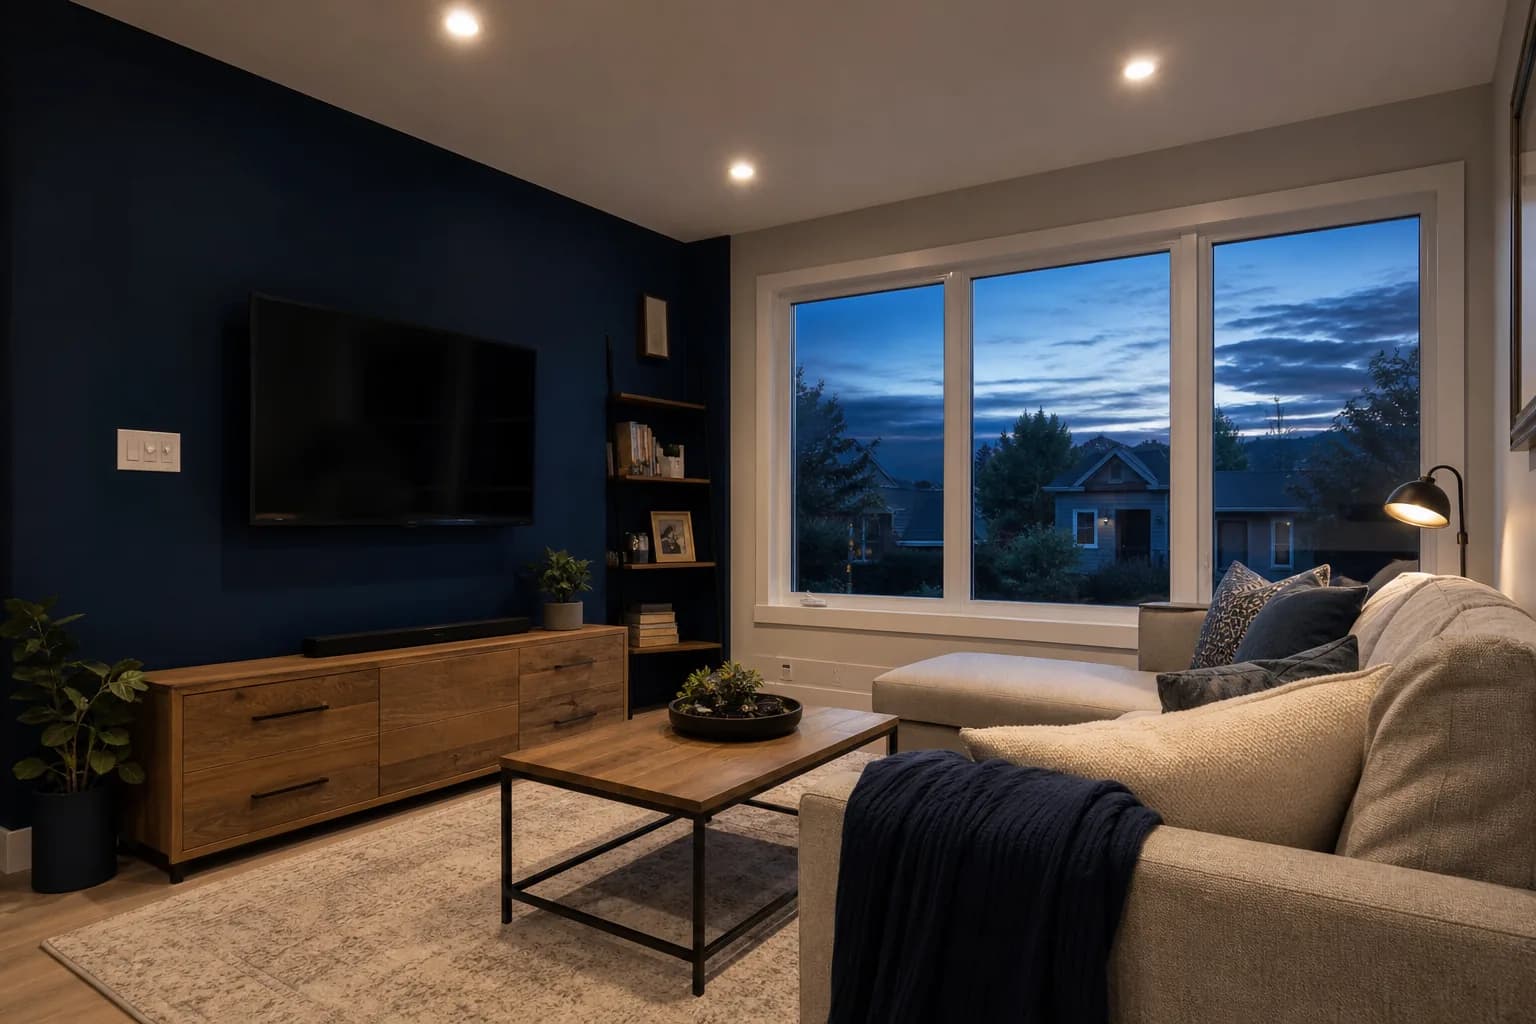
Recessed lighting is the most common upgrade we do in finished homes. A good pot light installation in Kitchener replaces one central fixture and a few lamps with even, glare-free light across the whole room, and on a dimmer it can go from bright for cleaning to low for a movie. The difference between a good job and an average one is mostly in the planning and the patching.
Retrofit or new construction
In new construction or a renovation with the ceiling open, we mount fixtures to the joists, run wire before drywall and the drywaller cuts around them. It is quick and the layout is unconstrained.
In a retrofit, the ceiling is finished and lived under. We find the joists, work out their direction and any blocking, then fish cable from light to light through the joist bays. When a run has to cross joists, we open a small access hole at the crossing, drill through, and close it again. Planning those crossings is what keeps the drywall repair small.
Plaster and lath ceilings in older houses take more patience. Plaster cracks if it is cut roughly, and the lath slows down fishing. We score the circle first, cut slowly with the right bit, and tell you honestly if a room would be better served by a surface-mounted fixture.
Wafer LED pot lights
Most of what we install now are slim LED wafer lights: a thin disc, often under an inch deep, with a small remote driver box that sits in the ceiling beside it. They need only a round hole, fit in shallow spaces under ductwork or between strapping, and don’t need the old metal housing. Many let you choose the colour temperature with a switch on the driver, from warm 2700K for living rooms to a cooler 4000K some people like in kitchens or garages.
IC-rated and airtight
Under an insulated attic, a pot light sits in contact with insulation. It has to be IC-rated (insulation contact) so it can be buried safely, and an airtight model stops warm, moist house air from leaking into the attic, where it can cause frost and staining in winter. Wafer LEDs are generally IC-rated, but we check every product before it goes into a top-floor ceiling.
Layout and spacing
As a starting point, we space pot lights about half the ceiling height apart and keep the first row roughly two to three feet off the walls. On an eight-foot ceiling, that is around four feet between lights. Then we adjust for how the room is used:
- Kitchens: lights over the front edge of the counters, so you are not working in your own shadow.
- Living rooms: fewer, wider-spaced lights on a dimmer, with a wall-washing row to brighten a feature wall.
- Basements: more fixtures on lower ceilings, since each one lights a smaller circle.
- Bathrooms: a wet-location rated fixture over the shower or tub.
- Outside: soffit lights rated for damp locations to light a porch or driveway.
We mark each position on the ceiling with tape first, so you can see the pattern and move a light before we cut.
Switching and zones
A large open room rarely wants every light on one switch. We often split a kitchen into the main grid and a separate row over the sink or island, or a basement into a TV area and a games area. Stairs and long halls get three-way switching so you can turn lights on at one end and off at the other. Deciding the zones before we wire costs nothing; changing them later means opening the ceiling again.
Dimmers
LEDs and old dimmers don’t always get along. A dimmer designed for incandescent bulbs can make LEDs flicker, buzz or refuse to dim below a certain level. We use dimmers listed as compatible with the fixtures and check the minimum load rating, which matters when only a few low-wattage lights are on one switch. Smart dimmers work too, as long as there is a neutral in the box.
Careful with your finishes
We put down drop sheets, cut holes with a dust-collecting hole saw and keep the mess in the room. One client in New Dundee wrote this after we finished:
I am so happy with the professional work of Einwechter Electric. They were precise in the placing of the pot lights and careful with our finishes. Communication was excellent from quote to cleanup. – K and F, New Dundee
New pot lights are new electrical work, so we file the ESA notification and the installation is inspected. Typical prices are in the pot light installation cost guide. To plan yours, request a free quote with the rooms and rough ceiling heights, or call 519-591-1442. We work across Kitchener, Waterloo, Wilmot and nearby.
Published prices
CAD · before GST/HST
- Per pot light, installedTypical of 6 published prices ($100 to $500 overall), 4 sources
- $150 to $330
- A room of 6 to 12 lights
- $1,200 to $4,000 or more
- A twelve-light basement
- $1,800 to $3,600
- Exterior pot lights, per light
- $200 to $400
Published prices from Ontario electrical contractors’ own price guides, checked October 25, 2026: ranges, not quotes, and before HST. ESA fees are from ESA’s own 2026 fee guide. Your job gets a written quote after we see it.
Questions people ask
How much do pot lights cost to install?
Published Ontario prices are $150 to $330 per pot light installed, with the per-light price usually lower on bigger jobs. Ceiling access, the number of switches and patching all affect it. See our pot light cost guide for detail.
How many pot lights do I need in a room?
A rough rule is to space them about half the ceiling height apart. A 12 by 12 foot room with an eight-foot ceiling usually works well with four to six, depending on whether it is a kitchen, which needs more light, or a bedroom, which needs less.
Can pot lights go in a ceiling under the attic?
Yes, as long as the fixture is IC-rated for contact with insulation and, ideally, airtight. Most slim LED wafer lights are designed for this, and we confirm the rating before installing.
Will installing pot lights damage my ceiling?
Each light needs a round hole, and some runs need a small access opening where wire crosses a joist. We plan routes to keep those openings few, cut cleanly and tell you where they will be before we start.
Why do my LED pot lights flicker on the dimmer?
Usually the dimmer isn’t compatible with the LED driver, or the load is below the dimmer’s minimum. Replacing it with a dimmer listed for those fixtures normally solves it.